
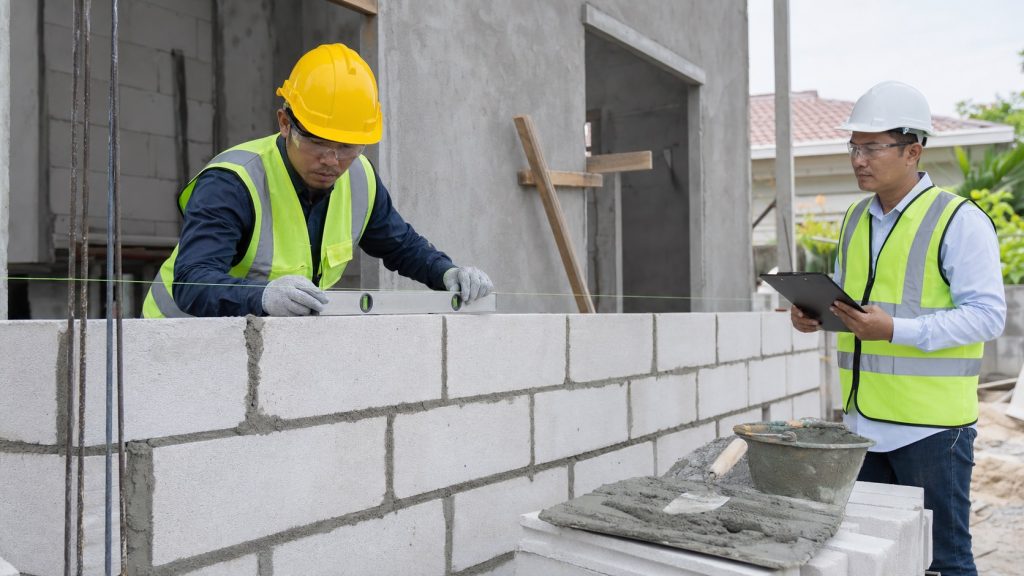
Lightweight block, concrete block, and clay brick wall installation must be controlled as a complete construction system rather than a simple unit-laying activity. Final quality depends on approved materials, structural interfaces, accurate setting out, bonding, opening reinforcement, work sequence, curing, and inspection before finishes conceal the work. This SOP establishes a professional basis for execution, inspection, records, corrective action, and handover.
1. Purpose and scope
The procedure aims to deliver walls with acceptable position, dimensions, line, level, plumb, bonding, and surface condition while maintaining coordination with structural and MEP work. It covers approved drawings and materials, delivery and storage, setting out, mortar or adhesive preparation, unit installation, structural interfaces, door and window openings, lintels, service routes, curing, inspection, repair, and release for finishing.
2. Required documents and approvals
- Current architectural, structural, and MEP drawings.
- Wall shop drawings showing material type, thickness, levels, openings, lintels, anchors, and joints.
- Approved technical data for masonry units, mortar, thin-bed adhesive, ties, mesh, and joint fillers.
- Approved method statement, Inspection and Test Plan, checklists, and mock-up where required.
- Formal release of the structural work area and closure of unresolved design conflicts.
Drawing conflicts must be resolved before installation. Wall thickness, structural elements, and opening dimensions must not be changed merely to make field dimensions fit.
3. Responsibilities
The site engineer controls coordination, method, and work sequence. The surveyor establishes lines, elevations, and reference points. The supervisor manages labour, materials, tools, and daily checks. QA/QC personnel inspect materials, mock-ups, hold points, and records. The safety team controls access, scaffolds, cutting activities, housekeeping, and protective equipment. Masons must follow the approved workmanship sample and must not conceal nonconforming work.
4. Material receipt and storage
Verify product type, dimensions, specified class, physical condition, batch, adhesive shelf life, and correspondence with the approval. Severely cracked, broken, distorted, or contaminated units are rejected from permanent work. Store lightweight and concrete blocks on level supports away from standing water. Keep clay bricks clean and condition their moisture only as required by the approved method. Cement, premixed mortar, and adhesive must remain dry, raised above the floor, and controlled by first-in first-out use.
5. Area preparation and setting out
- Confirm that slabs, beams, and substrates are released to receive the wall.
- Remove dust, laitance, oil, formwork debris, and loose material.
- Transfer grids, wall faces, finish allowances, openings, and elevations from verified control points.
- Check room squareness and coordination with ceilings, built-in furniture, sanitary fixtures, and MEP routes.
- Install corner profiles or guides to control line, level, and plumb.
The first hold point occurs after setting out and before permanent laying. Any relocation requires approval because it can affect room area, frames, floor finishes, ceilings, and measured quantities.
6. Mortar and adhesive control
Use a mortar system compatible with the approved masonry unit. Water dosage, mixing time, working time, and joint thickness must follow approved technical data. Material that has begun to set must not be retempered with water. Apply thin-bed adhesive with suitable tools to achieve continuous coverage. Conventional mortar aggregates must be clean and properly graded, and mixing areas must not contaminate floors or drainage.
7. Wall installation sequence
- Install the first course under strict level and alignment control because it governs the entire wall.
- Maintain consistent bonding and avoid continuous vertical joints unless specifically permitted by the system.
- Check line, level, plumb, and joint thickness throughout the rise of the wall.
- Install ties and anchors to the approved detail without drilling reinforcement or damaging structural members.
- Control the daily lift so lower courses are not displaced by excessive early loading.
- Use properly cut units at ends and junctions; unstable fragments must not be used to close dimensions.
8. Openings, lintels, and structural interfaces
Opening dimensions must include approved frame and finishing tolerances. Install lintels, corner reinforcement, mesh, and bearing details in accordance with shop drawings. Interfaces with columns, beams, and dissimilar materials require approved ties and crack-control treatment. Do not close the wall head rigidly before the specified time. Where required, use a detail that accommodates expected structural tolerance or movement.
9. MEP coordination
Coordinate sleeves, boxes, conduits, and penetrations before concealment. Cut chases with suitable tools and controlled depth. Aggressive chasing that breaks bonding, reduces stability, or damages ties is prohibited. Large openings and route changes require technical review. Repair completed service zones with compatible materials and inspect them before plastering.
10. Inspection and acceptance
| Stage | Key inspection | Record |
|---|---|---|
| Materials | Type, size, condition, approval, storage | Material inspection |
| Setting out | Position, room size, openings, elevation | Checklist and survey record |
| Installation | Bond, joints, line, level, plumb, ties, lintels | Process checklist and photographs |
| MEP | Boxes, conduits, sleeves, chases, repairs | Pre-cover inspection |
| Final | Flatness, plumb, cracks, cleanliness, finish readiness | Inspection request |
Numerical tolerances must follow the project specification, approved drawings, and applicable product requirements. Record measurements by location and instrument. Visual checking alone is insufficient. Do not release a wall for plastering while loose units, empty joints, active cracks, incorrect openings, or unaccepted services remain.
11. Safety and environmental controls
- Use stable work platforms and avoid excessive material loading on scaffolds.
- Control cutting tools, dust, fragments, eye protection, gloves, and respiratory protection.
- Keep access and emergency routes clear of units and mortar.
- Apply ergonomic lifting methods and mechanical assistance where appropriate.
- Do not discharge mortar waste into drains; segregate waste and clean the work area each shift.
12. Nonconformance and handover
Mark nonconforming work and prevent concealment. The supervisor and QA/QC team determine whether repair or removal is required. Cosmetic patching must not hide a wall that is out of plumb, unrestrained, or incorrectly located. Reinspect every corrective action and close it with documented evidence.
Handover records should include material approvals, final shop drawings, setting-out and installation checklists, survey results, pre-cover photographs, MEP inspection records, closed nonconformance reports, and approved as-built information. This evidence allows finishes to proceed without transferring hidden defects to the next trade.